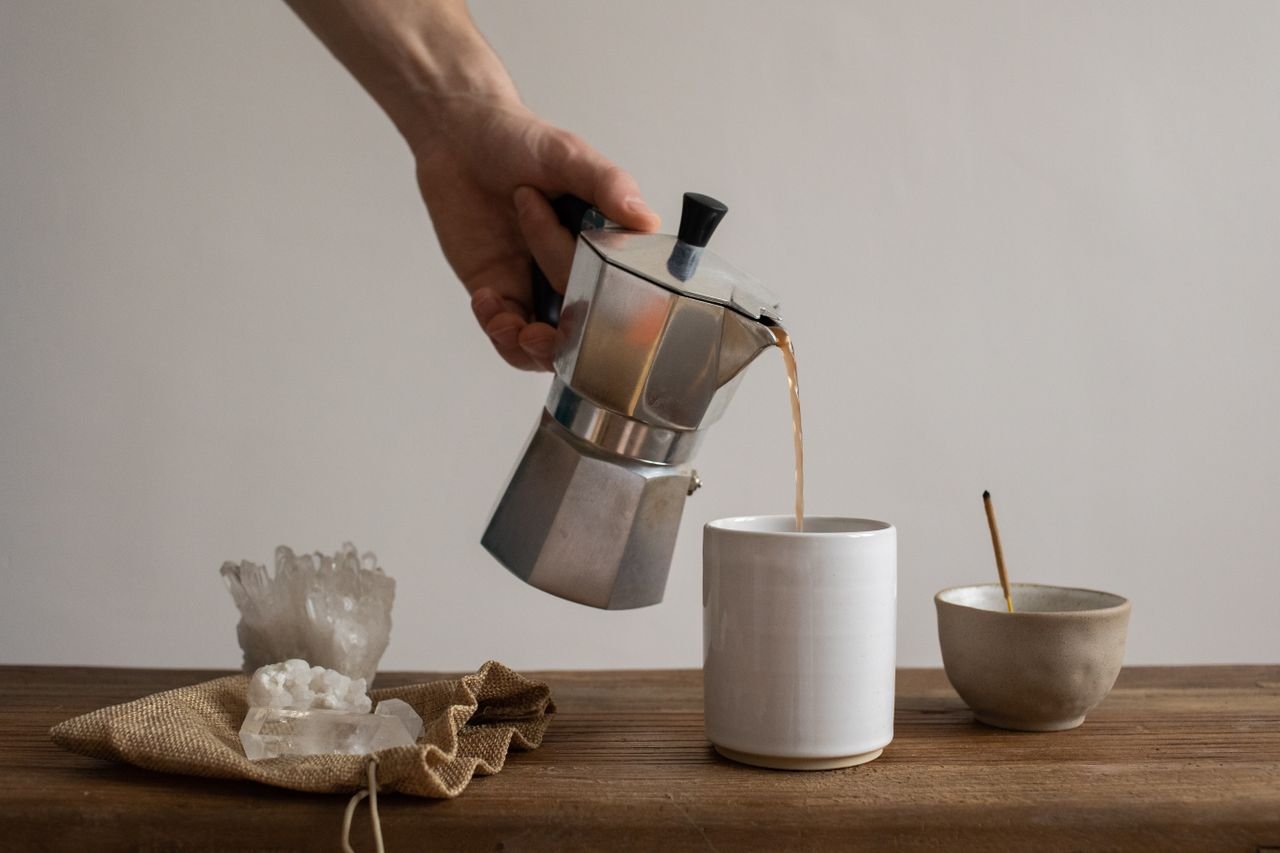
There is something deeply satisfying about a moka pot sitting on a stove. The quiet hiss, the slow build of pressure, and then that first dark stream of coffee pushing its way up into the chamber. It is old-school in the best possible way, and when done right, it produces a cup that is bold, aromatic, and genuinely delicious.
But here is the honest truth: a lot of people are not getting the most out of their moka pot. They are either rushing it, using the wrong grind, or making small mistakes that add bitterness to every cup. The good news is that fixing those things is straightforward once you understand what is actually happening inside that little aluminum brewer.
This guide walks you through everything you need to know to brew like someone who really means it.
First, Understand What a Moka Pot Actually Does
A moka pot is not a true espresso machine. Let’s clear that up right away. Espresso machines push water through coffee at around 9 bars of pressure. A moka pot works at roughly 1 to 2 bars. The result is concentrated and intense, but the texture is different , less creamy, more syrupy, and arguably more forgiving for everyday brewing at home.
The design is genius in its simplicity. Water in the bottom chamber heats up, creates steam pressure, and forces hot water up through the coffee grounds packed in the middle filter basket. The brewed coffee then rises into the upper chamber where it collects, ready to pour. Three chambers, no electricity needed, and a brew time under five minutes. It is hard to argue with that.
Understanding this process matters because every tip in this article connects back to it. When you know what the pot is doing, the reasoning behind each step makes immediate sense.
Start With the Right Coffee and Grind
The grind is where most moka pot problems begin. Too coarse, and your coffee will taste weak and watery. Too fine, and you risk a bitter, over-extracted cup , or worse, pressure buildup that makes the safety valve release with a dramatic spurt.
Aim for a grind that sits between espresso and drip. Think of table salt as a rough visual reference. It should feel slightly gritty but not powdery when you rub it between your fingers. Many people describe it as a medium-fine grind, and that description is fairly accurate.
As for the coffee itself, choose something with a roast profile that suits your taste. Medium to dark roasts are traditional in moka pot culture, especially Italian-style blends, because their lower acidity and fuller body hold up well under pressure and heat. That said, a well-sourced light roast with good density can produce a surprisingly nuanced cup if you dial in the grind and temperature carefully. Do not feel locked into one style.
Whatever you choose, freshness matters enormously. Whole beans ground right before brewing will always outperform pre-ground coffee sitting in a bag. If you do not own a grinder yet, it is one of the most worthwhile investments you can make for your morning routine.
Use Pre-Heated Water, Not Cold
This is a tip that changes everything, and yet many people skip it entirely.
When you fill the bottom chamber with cold water and place the pot on the stove, the water has to travel through a wide temperature range before it reaches brewing temperature. During that long heat-up time, the coffee grounds in the basket are sitting in a warm, pre-extraction environment that pulls out bitter and astringent compounds before the actual brew even begins.
The solution is simple. Start with water that is already hot, ideally just off the boil. Fill your kettle, bring it to a boil, and then fill the bottom chamber of your moka pot with that hot water up to just below the safety valve. This dramatically reduces the time the grounds spend in limbo, and the result is a cleaner, sweeter cup with noticeably less bitterness.
Use an oven mitt or a folded kitchen towel when you handle the bottom chamber after filling it with hot water. It will be warm to the touch, and that is normal and expected.
Fill the Basket Properly, Without Tamping
This is another point where moka pot technique diverges sharply from espresso. With an espresso machine, you tamp the grounds firmly to create resistance. With a moka pot, you do not tamp at all.
Fill the filter basket with your ground coffee until it sits level with the rim, then gently tap the basket on the counter once or twice to settle the grounds. That is all. No pressing, no packing, no tamping. The grounds should be even and loose enough for water to move through them naturally under low pressure.
Overfilling or packing the basket restricts flow, forces the safety valve to release, and often leads to a bitter, scalded-tasting cup. A level, unfussy fill is what you are going for every time.
Brew Over Low to Medium Heat
Patience is the most underrated moka pot skill. High heat is tempting because it feels more efficient, but it is the single biggest reason home brewers end up with a harsh, burnt-tasting cup.
Low to medium heat gives the water time to heat evenly and push through the grounds at a controlled pace. The coffee should emerge in a steady, quiet stream rather than a rapid, sputtering gush. If your pot is gurgling loudly or spitting coffee into the upper chamber, the heat is too high.
A good brew with a properly loaded moka pot should take between three and five minutes from the moment you place it on the stove. That might feel slow if you are used to rushing, but that time spent waiting is exactly what produces a clean, sweet, balanced extraction.
Once the coffee stream begins to lighten in color and you hear a soft hissing sputter, take the pot off the heat immediately. That pale, foamy coffee at the end of the brew is mostly water vapor and over-extracted bitterness. You do not want it in your cup.
Cool the Bottom Chamber to Stop the Brew
Even after you take the pot off the stove, residual heat in the base can continue driving water through the grounds and into the upper chamber. Running the bottom of the pot under cold tap water for a few seconds stops that process immediately and locks in a cleaner extraction.
This step is quick, easy, and makes a noticeable difference in cup clarity. Think of it as the final act of controlling your brew rather than leaving it up to chance.
Keep Your Moka Pot Clean, But Simply
A well-cared-for moka pot lasts decades. Rinse it with warm water after every use and allow it to dry completely before reassembling it. That is genuinely all it needs most of the time.
Avoid soap and detergent, especially with aluminum pots. Soap strips the seasoned layer that builds up over time and actually improves the flavor of your coffee. If you have stubborn residue, a soft brush and warm water will handle it without damaging the pot.
Check the rubber gasket around the filter basket periodically. Over time it hardens and may develop small cracks, which can affect the seal and the pressure inside the pot. Replacement gaskets are inexpensive and widely available, so do not put it off when the time comes.
The Last Thing Worth Saying
A moka pot rewards attention and patience. It is not complicated equipment, but it does ask you to be present with it rather than just switching it on and walking away. That is actually part of its charm. There is a quiet ritual to measuring the coffee, filling the chamber, watching the stream rise, and knowing exactly when to pull it from the heat.
Once you have a process that works, it becomes second nature. Your mornings get a little better, and your coffee gets a lot more interesting. That feels like a trade worth making.
Now go brew something excellent.

Leave a Reply